
Sale!

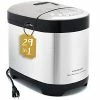
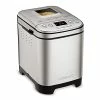
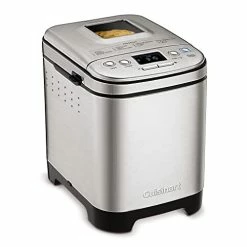
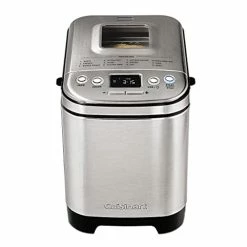
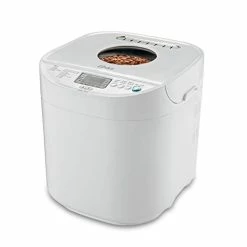
Buy 🥰 Hamilton Beach Bread Maker Machine, Digital, Programmable, 12 Settings + Gluten Free, Dishwasher Safe Pan + Kneading Paddle, 2 Lb Capacity, Black (29882) 🤩
Original price was: $79.99.$63.99Current price is: $63.99.
- Control the delivery date and try to deliver it in the fastest time
- The quality solution for all your needs.
- 100% High Quality Guarantee
- Safe Payments, Secure Personal Information

- Voltage: 120
- Color: Black
- Item Weight: 5.4 Kilograms
- Material: Plastic
- Capacity: 2 Pounds
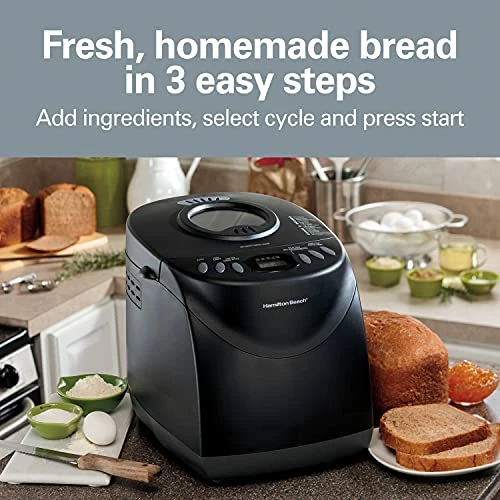
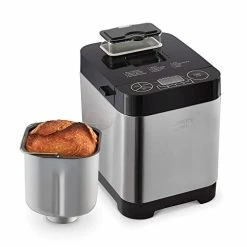
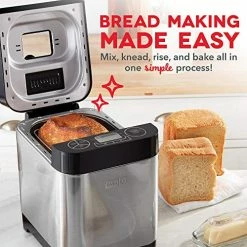
- FRESH HOMEMADE BREAD IN 3 EASY STEPS: Just add your ingredients to the breadmaker, select the cycle and press start.
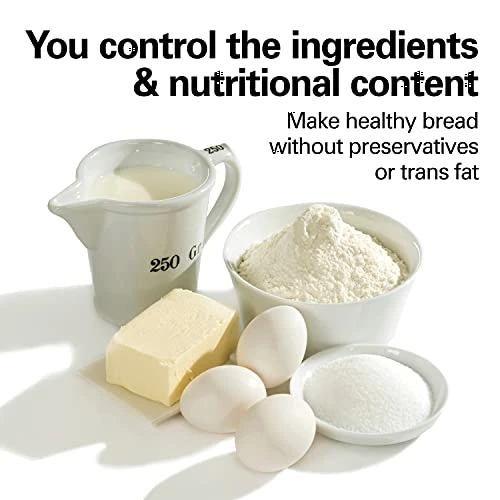
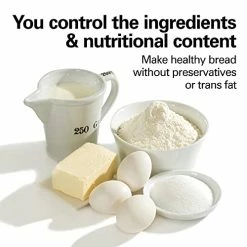
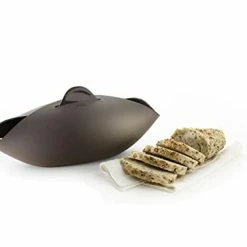
- YOU CONTROL THE INGREDIENTS & NUTRITIONAL CONTENT: Prepare healthy loaves of bread without preservatives or trans fat using this Hamilton Beach breadmaker.
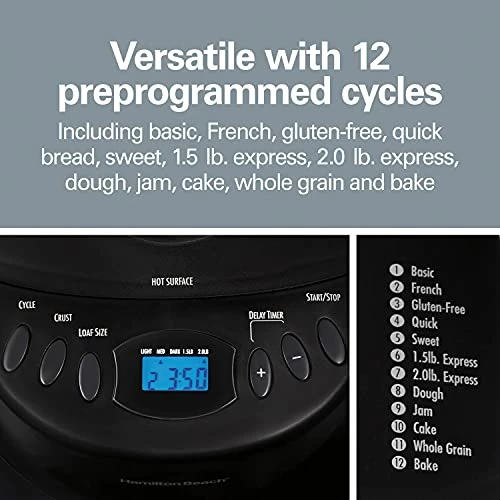
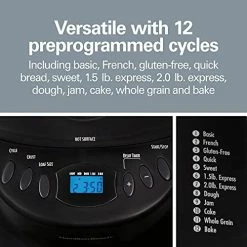
- VERSATILE WITH 12 CYCLES: Make dough, bake cake, or make delicious mouth-watering loaves of fresh baked bread. Cycles include basic, French, gluten-free, quick bread (no yeast), sweet, 1.5 lb express, 2.0 lb express, dough, jam, cake, whole grain and bake.
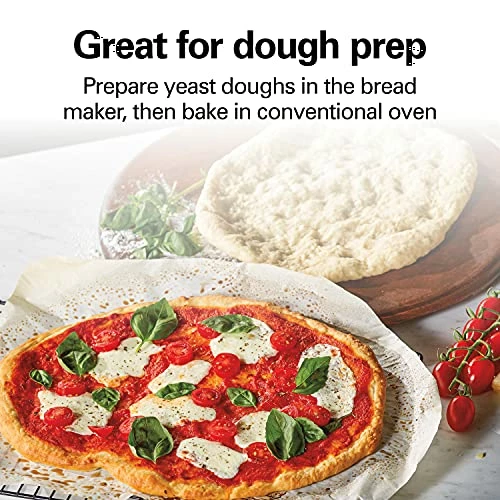
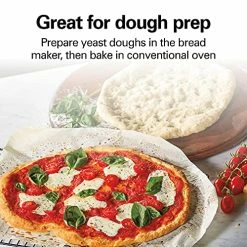
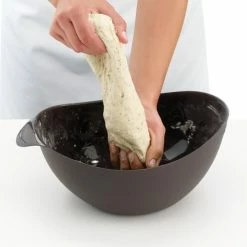
- GREAT FOR DOUGH PREP: Prepare a variety of yeast doughs in the breadmaker machine for dinner rolls, pizza crusts, cinnamon buns and more, then bake in a conventional oven.
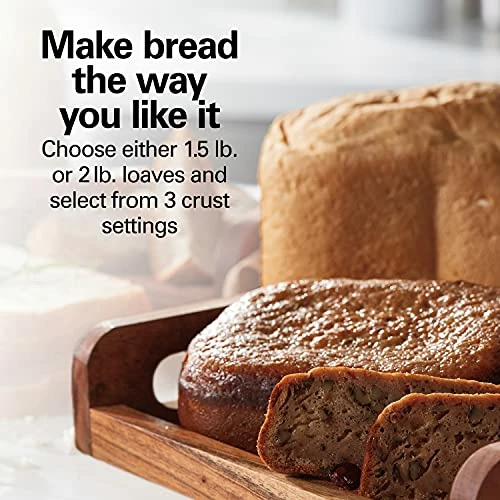
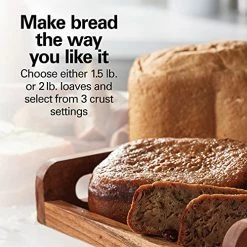
- MAKE BREAD THE WAY YOU LIKE IT: Choose to make either 1.5 lb. or 2 lb. loaves, and select from 3 crust settings for light, medium or dark crust.
3 reviews for Buy 🥰 Hamilton Beach Bread Maker Machine, Digital, Programmable, 12 Settings + Gluten Free, Dishwasher Safe Pan + Kneading Paddle, 2 Lb Capacity, Black (29882) 🤩
Add a review
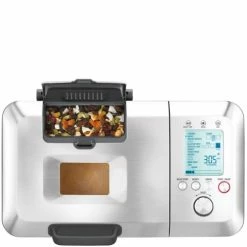
Related products
Sale!
Original price was: $279.00.$82.00Current price is: $82.00.
Sale!
Original price was: $83.99.$67.19Current price is: $67.19.
Sale!

Original price was: $283.00.$94.00Current price is: $94.00.
Sale!


Original price was: $94.99.$75.99Current price is: $75.99.
Sale!

Original price was: $129.99.$84.00Current price is: $84.00.
Sale!

Original price was: $92.85.$74.28Current price is: $74.28.
Sale!
Bread Machines
Original price was: $29.13.$23.30Current price is: $23.30.
Sale!


Original price was: $68.52.$54.82Current price is: $54.82.
jemmedia –
I love this bread machine. I spent hours online looking at the different choices and reading the reviews — negative and positive. I put it in my cart so many times, then left it there and came back a few times before finally hitting the “buy” button. The negative reviews really had me apprehensive. But since I’ve never baked a loaf of bread before, I thought I’d start with this one, and if it was a dud, I’d try a more expensive one.This was really “plug and play”. It’s ready to go right out of the box. I took the advice found in the positive reviews which was (1) read the manual from start to finish before trying out the machine and (2) make sure your measurements are exact and you follow the instructions and do everything in the right order. Weigh out the ingredients first and have them sitting on the counter ready to put in the machine before you turn on the machine.I read the manual twice (not all at once). I decided to try an easy white bread first. I went out and bought “bread machine” flour and since I couldn’t find “bread machine yeast” I just got some fast-rising yeast. The recipes say “vegetable oil or butter” and since I never use vegetable oil (or any seed oil — only olive oil) I used unsalted butter instead.It was so simple it almost felt like cheating.As to all the things I was fearing from the negative reviews: The machine is really quiet, compared to a blender or vitamix or food processor. It would not wake someone up in the next room let alone disturb an apartment neighbor.The machine did not walk off my counter or fall on the floor. It has four rubber feet that keep it in place — it moved about 2-3 inches a few times and I just pushed it back. (Intially I put it on a ribbed cotton placemat but I removed it after a while since it didn’t seem necessary and it actually moved less without it.I could tell the bread was rising nicely looking in the top window. When it started the baking stage (last stage) I could smell it in another room and went to see if anything was burning, but no, it was just some some air vents in the machine that let out some steam.When the bread was done I let it stay in the machine for about 15 minutes. I took out the bake pan, turned it upside down over a wire rack, and the bread fell right out. Nothing stuck to the baking bucket.This unit doesn’t come with a paddle removal tool, and the paddle did stay in the bread, so I took the screw part of a corkscrew and gently probed the bottom of the bread and it came out pretty quick with just a little hole in the bottom.I had set it on the medium crust level and the bread was browned perfectly.It rose really nicely.The bread was crusty on the outside and the white bread inside was not stiff or hardened.I sliced a piece off, tasted it and thought it had a really good, rich flavor. I put some peanut butter and jelly on it and put the rest in a plastic bag and left it on the counter overnight. This morning, I sliced a piece off, and it was still tender inside. (Meaning if you put you pushed your finger into it, it would create a small dent and then bounce back, or at least not tear). I cut it in half and toasted the halves. The toast came out great, evenly browned and I a scrambled egg on it.At dinner, a friend came over and tasted it and even though he’s not a white bread kind of person, he thought it tasted really good.One of the reasons I went with this model was because it’s dishwasher safe. But the pan was still so clean after baking the bread, all I did was take a dampen a clean dish towel and wipe the inside. Nothing stuck to the inside housing of the machine so I just ran the damp cloth over it and let the top up so it would dry fully.I know this is a long review, but I had so much angst from the 180 degree difference between the positive and negative reviews, I thought it might be helpful to another beginner like me who is struggling to make sense of the reviews. It’s not that I disbelieve the negative reviewers — I’ve certainly gotten appliances I thought had been previously returned or were duds for other reasons. But I am so happy with this machine so far, I really wanted to share it.I’m going to do rye bread next.PS If in the next 6 months, the machine falls apart or fails to perform properly or the non-stick surface comes off into the bread, I’ll come back and update.
HotTam –
This is a nice bread maker, worth the price. I have made bread periodically before so I know what a loaf should look like generally I.e., too wet or too dry. I was afraid to deviate from the instructions but decided to do this for my raisin loaf and I had good results.The machine did not alert me to when to add the raisins so you need to read the instructions and add them at the correct time.Four observations:1. Do not follow the recipes that come with it that involve the “ml” amounts. They are grossly off, especially the raisin bread recipe. The flour asked for was not enough, I needed to add more slowly during the first round of kneading. Your dough should not look like cookie dough.2. Feel free to add more flour as it is kneading. The raisin bread recipe is too wet as written. Feel free to scrape down sides with a rubber scraper during kneading as well.3. Remove dough and paddle directly after last kneading cycle onto a floured surface. Do this quickly so as not to cut into last rising time. This is a good time to add more flour if needed and give it a little kneading and shape. Place the loaf right back on the paddle spike. You will need to soak the bread off of the spike when cleaning but it is worth not digging the paddle out of the loaf!4. Get a cookbook for bread machines! This comes with some basic recipes and that is it.This machine lets you fiddle with things if you want to. I can’t wait to make more in this machine!!Remember loafs only last three days at room temperature and ten days in a refrigerator. These loaves have NO preservatives which is great for our health, but spoil earlier than commercial loaves. Enjoy!
Ann L/ Anderson –
I recently discovered that I have a gluten sensitivity. Gluten free bread is expensive to buy, and not always on the shelf at my local grocery, so I decided to see if I could make it myself. I purchased this Hamilton Beach bread machine and thought I’d give it a try. I was intimidated at first because I’d never baked yeast bread before, but I followed the instructions, crossed my fingers, and it worked! The machine is very easy to use and clean. I’ve had to experiment with several gluten free recipes to land on one I like, but no matter what recipe I’ve used, the bread has turned out well. While the cost of gluten free flour is high, when I break down the cost of the ingredients compared to store bought bread, I’m saving over a dollar a loaf. I would recommend this machine to anyone interested in making their own bread.